Showing posts with label stickers. Show all posts

Monday, April 8, 2013

Heidi Swapp Memory File Folder - Part 3

Today I'm sharing my final Heidi Swapp memory file folder mini album.  I really enjoyed with this product and trying some new to me techniques along the way.  Now I have the fun of adding photos and journaling.
 

For the front cover, I used the orange mat piece I trimmed off a photo frame that we used on the original memory file from the class.  It offers a nice pop of color on this cover.  Layer a tag and a flower over it.  Then I used the color magic paper and a Chromatix pen from American Crafts in Evergreen 3.  The banner shape piece was left over from our class so it was already cut.  Then I layered with a piece from Heidi Swapp trimmings and applied heat to the trim and the pink flower of the same material.  When you heat it the edges curl up.

 
The first page on the inside is a card made in the card class that I took from Jennifer Evans at Craft Warehouse.  I love taking classes from Jen, she is an amazing talent.  Lots of layers going on the front of this card. 

 
Here's the inside of the card.  There was a little handmade banner that was orignally to be on this piece, but I saved it and used as an accent in s different folder.

 
I love this small file folder and the pop of yellow off of it.  Again the yellow piece is trimmed off the back of a photo frame.  Add a tag and a few embellishments and it's photo ready.  The bracket shape at the top is made from fussy cutting around the excess color on one of the label stickers


For the inside of the small file I used one piece of patterned paper, one tag, a couple scraps  and a few embellishments.  I love that you can trim these decorative tags in so many ways to use in so many ways. 

 
On the back of the small file I used the "negative" side of the die cut banner.  Meaning the banner here is the result of using the piece left after removing the die cut banner.  This is a great way to get as much use out of your product as possibl. 

 
Here's the last page, again I used a small file folder and folded in thirds to fit the larger file.  On the front is some fussy cut chevron pattern and heart stickers. 


On the inside I used more tags, and emellishments as well as scraps of paper.  I love how all these turned out and have enjoyed sharing them with you.  Hopefully you have enjoyed them too.  Check back soon for another project.

Thanks for looking ~ Michelle

Friday, April 5, 2013

Heidi Swapp Memory File Folder - Part 2

Here's a peek at the second of three Memory File Folder mini albums I made recently using product from Heidi Swapp.
 

This cover is a more simple than the last one and utilizes a tag that is cut in half to use in more than one spot.  I fussy cut the chevron pattern strip and attached the flower with a coordinating brad made with my I-top tool from Imaginisce.  The other element I used on this album is the bracket, for this I fussy cut around the extra pattern around the file tab stickers.  Just cut around the outside of the pattern, peel and stick.
 
 
On the inside I trimmed down a small file and scored it on the top and bottom so it met in the middle.  On the outside is a piece of Heidi Swapp banner trim.  This stuff is hard to describe, it's not traditional paper and when you use a heat tool on it you get the curled up fringe.  Fun to play with!

 
On the inside of the card I used more fussy cut pieces from the sticker sheets.  It adds interest and makes the most of your supplies.

 
The front of the smaller file within the larger file is pretty simple.  The tag is open on top so the chevron piece can slide out.  The flower is the same material as the banner, when you apply heat the petals curl up.  Be careful with the heat though, some of mine curled a bit more than I wanted.
 
 
This page is really simple, I trimmed a piece of patterned paper to fit the inside of the small file.  Added a trimmed label for a bracket under the words Beautiful Songs and attached the envelope with the LOVE note card in it.
 
 
This page uses the Heidi Swapp's Color Magic paper.  I chose to use a black ink to add a little punch and standout among all the color.  Then I topped that with the crinkle fringe banner.

 
For the back of the small file I trimmed the side of a tag and flipped it upside down.  Then I added a flower and coordinating brad and added some heat to crinkle the petals. 
 
 
Then I made another mini flip album for this file too. 


That's all for this one.  Thanks for looking ~ Michelle

Monday, February 4, 2013

Altered Journal Sketch Book

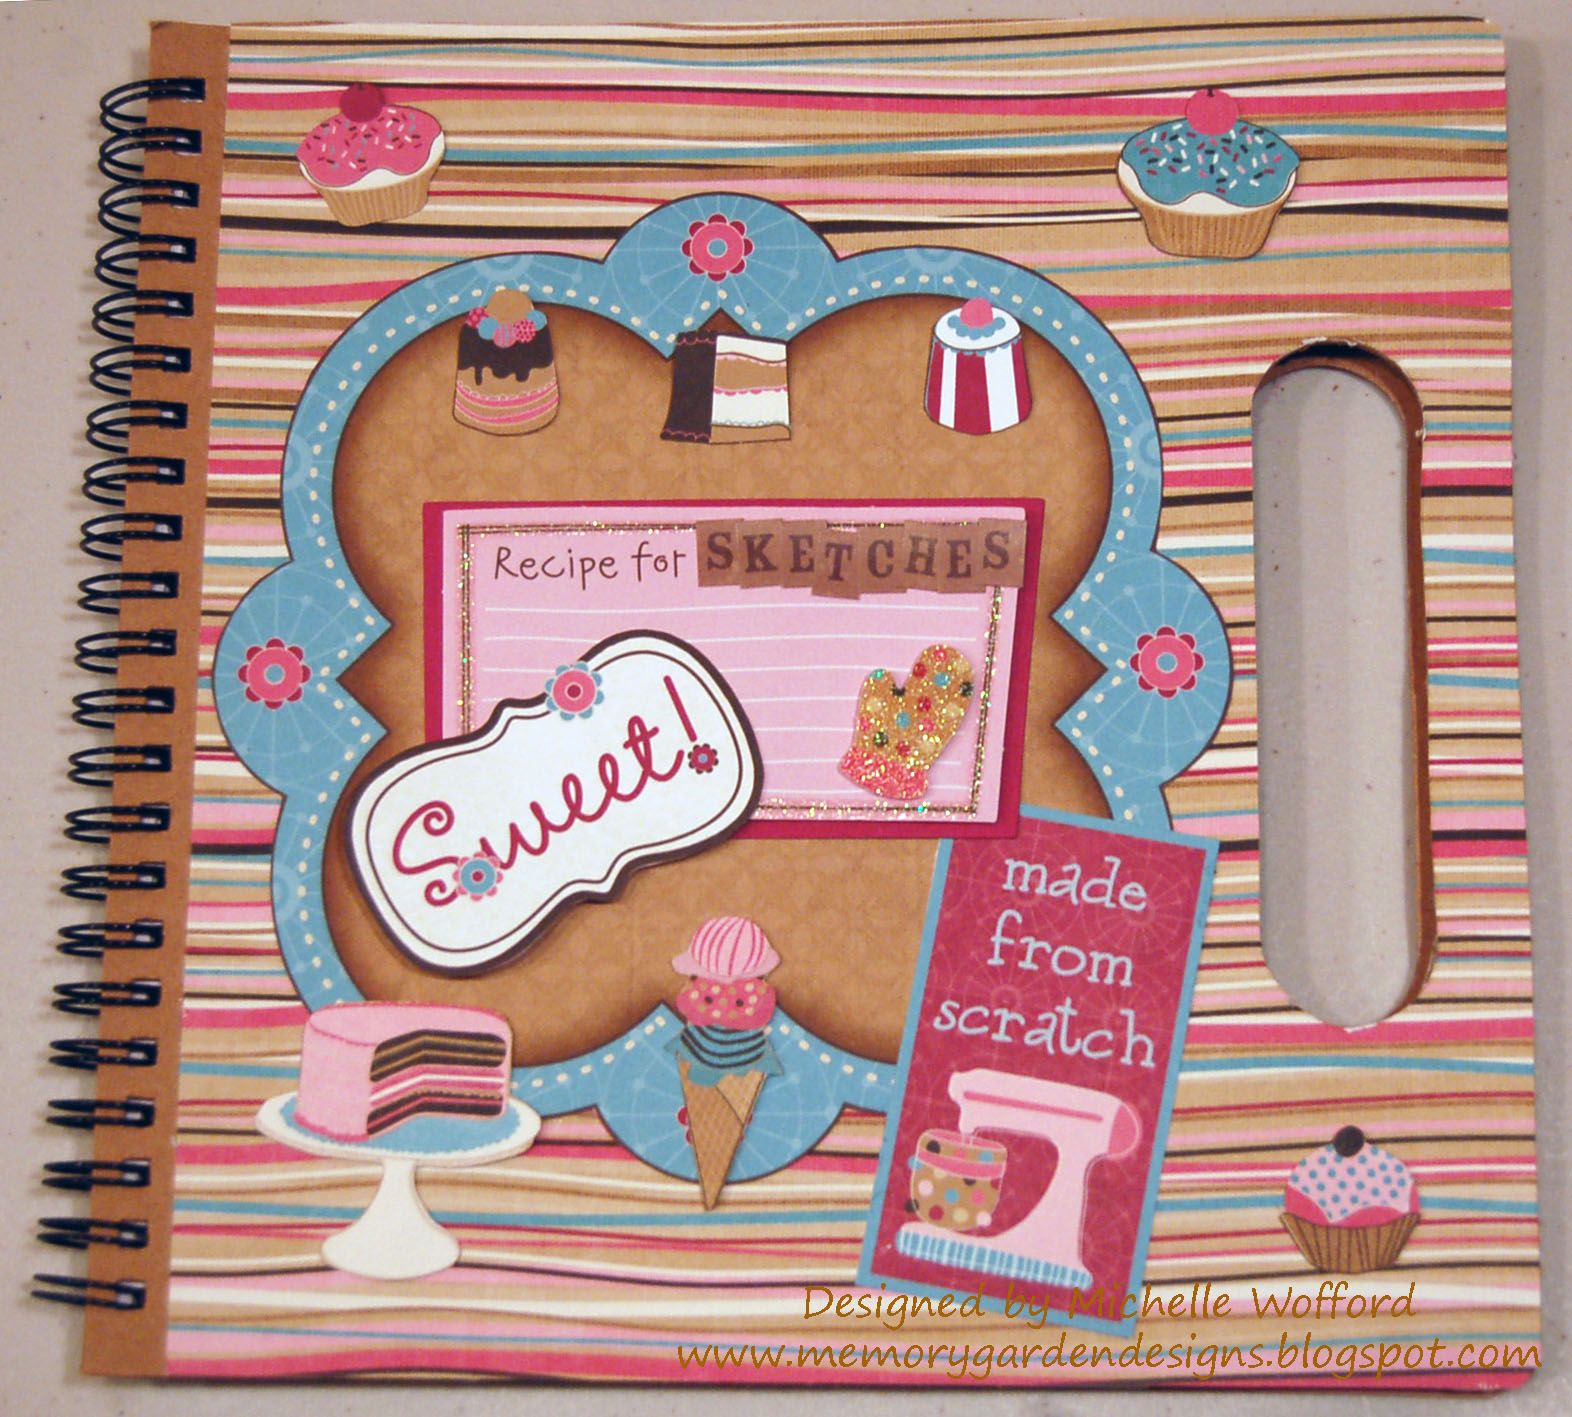
Here is one of my lastest projects, an altered journal.  I used Bo Bunny's, Sweet Tooth line to make this book to keep images / sketches of layouts for inspiration.  If you're like me, you have a stash of magazines sitting on your shelf.  I really don't have the space to save every single magazine so I wanted to take the pieces that I thought I would reference again in the future and have them in one condensed location. This is one of several that I'm making.


I fussy cut the scallop shape in the center, the sweet sentiment and all the cupcakes, cakes, and ice cream.  The Recipe for Sketches is a 3 dimensional sticker from the collection that I altered with alphabet stickers for the word sketches.  Now I just have to add the inspirational pieces inside.

Thanks for looking ~ Michelle