

Supply List
Patterned Paper or Cardstock
Scor-Pal or other scoring tool
Bone Folder
Scalloped oval die / punch
Decorative border punch
Corner Rounder
Hole Punch
Paper Trimmer
Scissors
Ribbon
strong quick dry adhesive

First trim a piece of 12" x 12" patterned paper (you want this to be a heavier paper so it can support itself) or cardstock to 8 1/2" x 11". Here I used Crate Paper's Little Bo Peep line.

Next lay the paper lengthwise on your score board (or other scoring tool) and score at 1/2", 3 1/2", 5 3/4" and 8 3/4".

Flip your paper so it's vertical with your score board and sore at 3" and 6 1/2".

Next use a bone folder to pre-fold on the score lines.


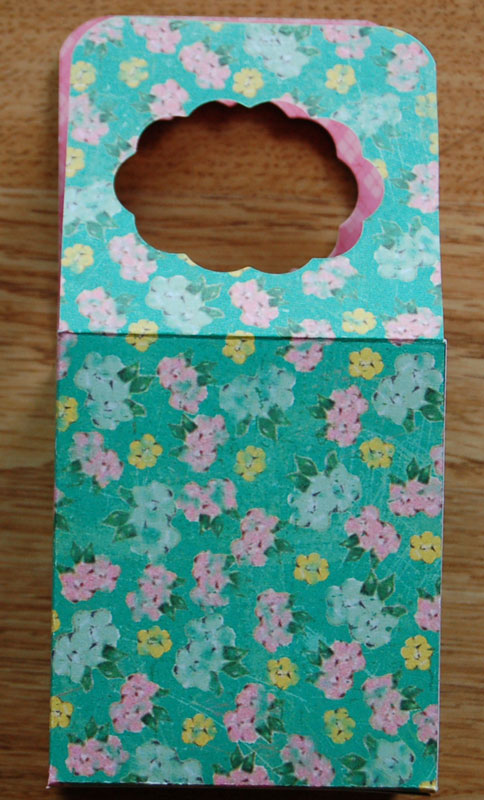
Cut off the top and bottom pieces on the side with the 1/2" flap so just the center on that end is remaining.
Now it's time to make the handles. For this I used a scalloped oval from my Spellbinders Nestabilities dies. I used the 3rd from the largest oval.

For this I had to fold my box in half at one of the score lines and line up and run each handle through the die cutter one at a time. Make sure to fold down all the flaps so that only the piece you want to is cut. It can be a little tricky but I just eyeballed it and mine came out nicely. If you have a punch you could use that too.

Now use your corner rounder to round the corners of the handle. I did this after I cut my handles but you can do this before to make it a bit easier to handle.

Okay, now we can assemble the box. On the inside of the box apply scor-tape to the two non handle top flaps, the two opposite flaps on the bottom, and the outside of the 1/2" flap on the side.

Though the picture shows this step before I rounded the corners the scor-tape can be applied at any point, but I recommend you apply it when you are going to need it.
Starting with the 1/2" side flap in the middle remove the liner from the scor-tape and create the box by joining the small flap to the inside of the other end to form the box. You may need to fold the flaps out of the way for convenience.
Then remove the liner from the two top flaps and fold them in and adhere to the inside walls of the box.

To create the bottom of the box fold in the two flaps without scor-tape first.

Then fold remove the liner and fold down one bottom flap with adhesive.

Then repeat with the other flap.

Now you have a completed box and you are ready to embellish.
You could embellish this lovely little box however you'd like but I'm going to quickly show you how to make your own decorative edge fan fold flower.
First cut a strip of patterned paper 1 1/2" x 12". Next punch one of the 12" sides with a decorative border punch, like the Martha Stewart one I used here. I like this one because it makes it simple to score and fold and looks pretty.


Next take your score board or scoring tool and on the front side of the paper score at every low point. You may have to move your paper around to line up the points to score.

Now flip the paper over the so back side is facing up and score at every high point, or the middle point of each scallop, again you might have to move your paper to get it to align properly.

Now use your bone folder to accordion fold the strip of paper.

When you are done it should look like this.

Now I like to take the two ends and meet them together to get the circle shape. Then apply a small strip of scor-tape to the back side of one edge of the folded piece of paper.

Remove the liner and attach to the other end to create a circle.

Next cut a small square or circle of scratch paper and apply a generous amount of a strong, wet, quick dry adhesive to the scratch paper and fold the pleated circle down so the decorative edge is on the outside of a flat circle. Hold in place to allow time to set (I like to find something heavy to set on it for a few minutes).
Embellish the center with a brad, button or a decorative fussy cut flower like I did. When it's all dry attach the fan fold flower to the box.
Use a hole punch to punch two holes in the top of each handle and close with a length of decorative ribbon.
Thanks for looking ~ Michelle ~


